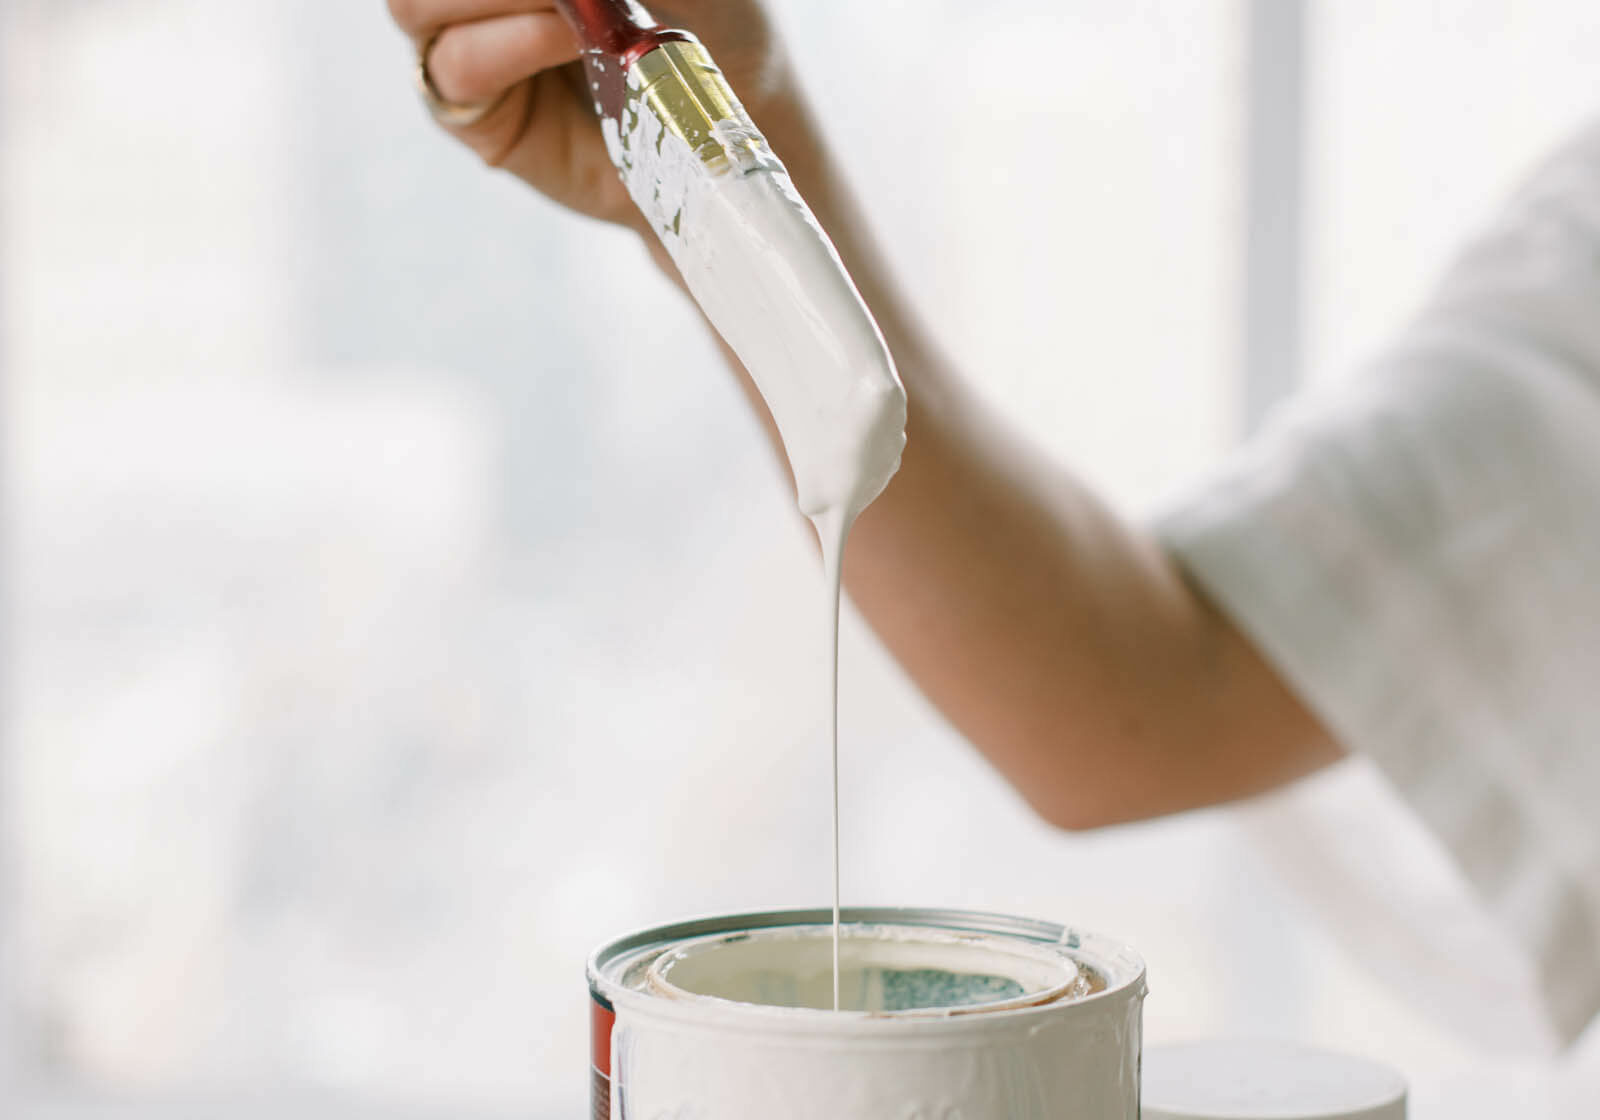
If you’ve ever tried to DIY a painting project, you know that it can be a little tricky if you don’t have a ton of experience or knowledge of paint products and techniques. However, when a DIY paint project is done right, it can be both a rewarding and cost-effective way to transform your space. Whether you’re a seasoned DIYer or are tackling your first big project, there are a few common painting mistakes that you’ll want to avoid. Read on to learn what these mistakes are and how to fix painting mistakes should they happen.
5 Common Painting Mistakes
Mistake #1: Poor Prep
One of the biggest mistakes DIYers make is not prepping the space appropriately. They rush into the project without sanding, making repairs, or priming appropriately. This can cause the paint to not adhere well to the surface, lead to uneven finishes, an amateur look, and a paint job that doesn’t last very long.
The Fix
To fix this common painting mistake, make sure that you thoroughly clean the surfaces you plan to paint and remove anything that could hinder the paint from adhering to the surface. Repair any damages and take enough time to thoroughly sand rough areas to create a smooth surface.
Prime the space appropriately for the condition of the walls, the type of paint you plan to use, and the type of surface. Learn more about prepping your house for paint here.
Mistake #2: Not Spending Enough Time Taping Things Off
Another common painting mistake we see DIYers make is not spending enough time taping off their space. Not only does this mean more paint splatters and smudges, but it also leads to wonky, jagged cut lines that aren’t straight. This can make your paint job look amateur and unprofessional.
The Fix
To fix this, make sure you take the time to tape off the space appropriately, especially around trim, baseboards, windows, and outlets. Be sure to cover outlets and light switches to avoid splatters and smudges.
Pro Tip: If you use Frog Tape, after thoroughly pressing onto the surface, take a damp cloth and wipe the tape down. Frog Tape has a powdered sealing agent that is applied onto the tape. Slightly wetting it will activate the agent. If you work it slightly into the joint between the tape and the wall, it will help seal the tape edge for great clean-cut lines.
Mistake #3: Uneven Sheen Build
When painting, it’s important to have an even sheen build by using the right painting techniques for the project and paint product you choose. Many DIYers aren’t skilled in these techniques and simply start rolling or brushing. This can cause uneven sheen coverage, visible brush strokes, dripping paint that dries in a funky streak, and roller lines.
The Fix
Make sure you are using the proper paint tools (roller, brush, angled brush for cutting, etc) for the paint product you have and the look you desire. High quality paint tools from companies such as Purdy or Wooster will apply paint more evenly, give you better coverage and reduce lint from your painting surface. Learn more about choosing the proper paint tools here.
Don’t put too much or too little paint on the brush or roller at once. Paint in even strokes and take your time to ensure the sheen is even and looks professional.
Mistake #4: Choosing the Wrong Paint Product
A telltale sign of a DIY painter is choosing the wrong paint product or finish for the surface they’re painting. They may choose a product or sheen that doesn’t look great on the particular surface or in a particular lighting.
The Fix
Talk to a professional at your local paint store to find the best paint product, finish, and sheen for your project. We have a quick run-down on the best paint for your home in this blog post.
Mistake #5: Choosing the Wrong Paint Color
To piggyback off of the last mistake, choosing the wrong paint color is another common painting mistake in the DIY world. Many amateur painters aren’t sure how to appropriately test a color in their space. They may end up with a color that doesn’t look good in the lighting of the room or match the aesthetic of their home.
The Fix
When choosing a paint color for your home, consider the lighting, existing decorations and furniture, and the mood you want to create in the space. Instead of going off of the tiny paint swatch from the paint store, test out a larger paint sample on the wall and look at it from all angles and in all lights to ensure it is exactly what you want. Follow these guidelines for choosing the best color for your home to ensure you love it!
Tackling a DIY painting project can be a fun, creative, and rewarding experience when done correctly. Just make sure you keep these common painting mistakes in mind so you can avoid them (or fix them if they do occur!).
As a rule of thumb, it’s always best to go the extra mile when it comes to prepping, priming, or opting for the higher quality paint products. This will give you the most professional-looking and long-lasting results possible!
If you have a paint project that’s outside of your DIY wheelhouse, feel free to visit our contact page to book your free consultation call. We’d love to learn more about your vision and help you bring it to life!


